
How To Grow Weed in 7 Easy Steps
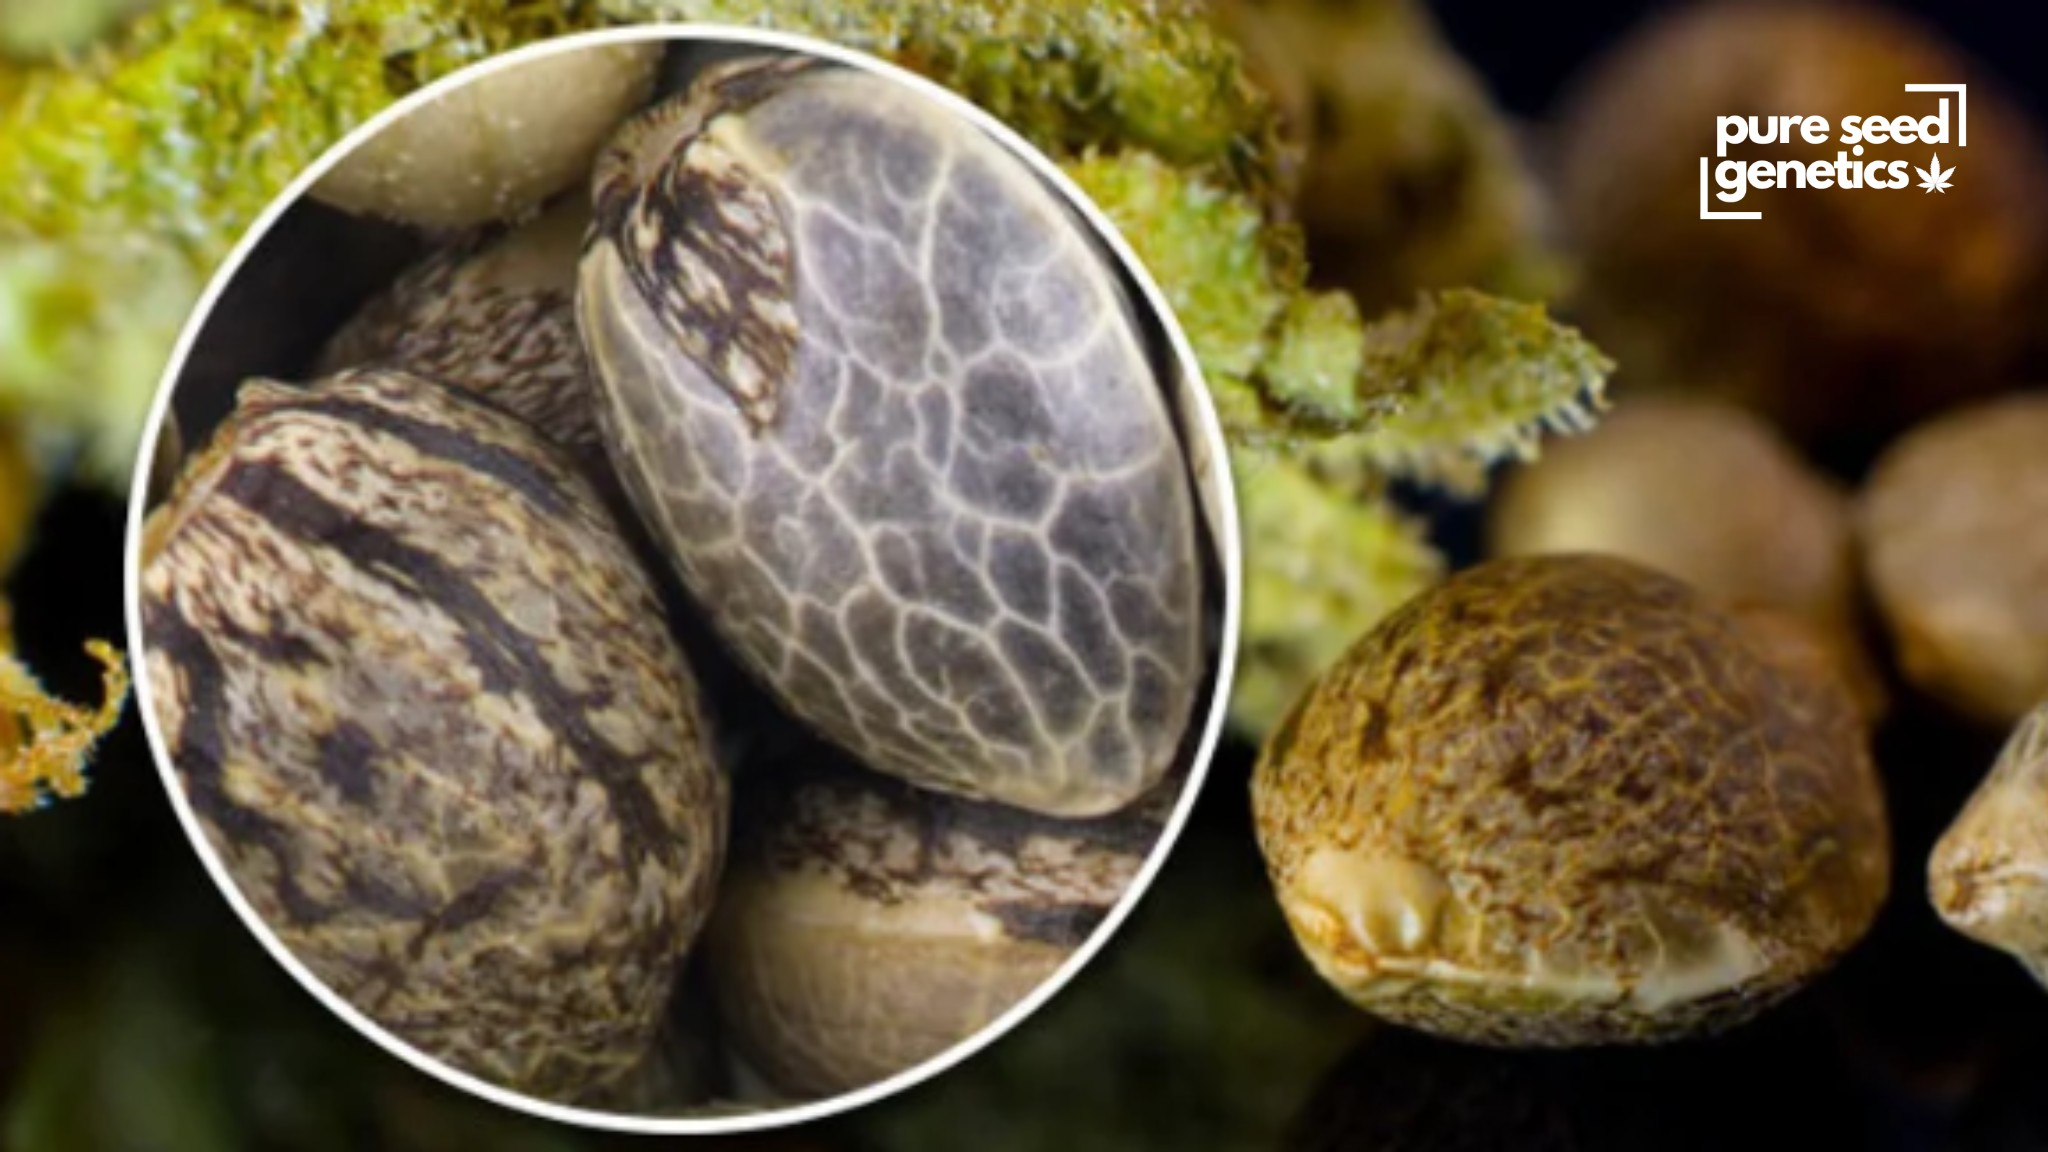
Table of Contents
Grow weed your own can be a fun, cost-effective, and rewarding hobby. Whether you’re interested in cultivating cannabis for personal use or just want to experience the satisfaction of growing your own plants, it’s easier than you might think. With the right knowledge and tools, anyone can grow healthy, potent cannabis at home. In this guide, we’ll take you through 7 easy steps, from choosing the best seeds to harvesting, drying, and curing your buds for the best possible flavor and potency. No matter if you’re starting indoors or outdoors, these simple steps will help you grow successful cannabis plants. Ready to get started? Let’s dive into the basics of growing weed!
Pure Seed Genetics – Cannabis Seeds
-
Northern Lights
Price range: $39.00 through $180.00 -
Blue Haze
Price range: $39.00 through $180.00 -
CBD Blueberry
Price range: $39.00 through $180.00 -
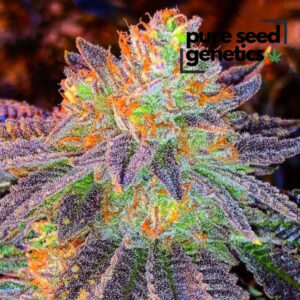
Zkittlez Feminized
Price range: $39.00 through $180.00
Step 1: Grow Weed: Choosing Your Seeds
The quality of the seeds you start with plays a significant role in the overall success of your cannabis plant. Seeds can vary based on genetics, and choosing the right strain is essential for achieving your desired results.
When selecting cannabis seeds, it’s important to consider factors such as the plant’s growth characteristics, flowering time, yield potential, and desired effects. For instance, Indica strains are known for their relaxing and sedative effects, while Sativa strains are more energizing and uplifting. Hybrid strains offer a mix of both effects.
Choosing between regular, feminized, and autoflowering seeds is also a crucial decision. Regular seeds, as mentioned earlier, can produce both male and female plants, so it’s essential to identify and remove the males early. Feminized seeds are designed to produce only female plants, ensuring that all your plants will produce the buds you want. Autoflowering seeds are ideal for those looking for fast-growing plants that don’t rely on light schedules to transition into the flowering stage.
A key consideration when selecting seeds is their source. It’s best to purchase from reputable breeders or seed banks to ensure you get high-quality, viable seeds.
Step 2: Set Up the Growing Environment
Indoor growing requires a controlled environment to ensure that plants thrive, and this can be achieved by setting up a dedicated grow tent or room. The space should be equipped with proper ventilation to ensure fresh air circulates and humidity levels are regulated. Ventilation can be managed with exhaust fans, intake fans, or ducting to maintain airflow and prevent the buildup of heat or stale air. Adequate lighting is crucial for plant growth, and you’ll need to choose the right type of grow lights based on your plant’s needs, with LED lights being energy-efficient and adjustable in spectrum, or High-Pressure Sodium (HPS) lights, which are commonly used for flowering stages but produce more heat.
The temperature inside the grow space should be kept within a range suitable for your plants, typically between 65-75°F (18-24°C), and a thermostat or fan can help control it. Along with temperature, humidity needs to be monitored; a dehumidifier might be necessary to prevent excess moisture that can lead to mold or mildew, or a humidifier may be needed if the air is too dry. With the right balance of these elements, an indoor growing setup can create an optimal environment for your plants to flourish year-round.
When growing outdoors, selecting the right location is key to ensuring healthy plant growth. You should look for a spot that receives 6-8 hours of direct sunlight per day, as most plants require plenty of light for photosynthesis to thrive. The location should also have well-draining soil to prevent water from pooling around the roots, which can cause rot and other issues. A good way to test soil drainage is by digging a hole and observing how quickly water drains. If it drains slowly, you might need to amend the soil with compost or sand to improve its texture.
Additionally, it’s important to choose a location that is somewhat protected from extreme weather conditions, such as strong winds or heavy rain, which can damage plants or wash away soil. If possible, pick an area with natural windbreaks, like fences, trees, or buildings, and consider using row covers or plant shelters to provide extra protection during storms or cold snaps. This combination of sunlight, drainage, and protection from harsh weather will create an ideal environment for your plants to grow and flourish outdoors.
Step 3: Cannabis Fundamentals
Cannabis plants rely heavily on light for energy. Light is essential for photosynthesis, which is the process by which the plant creates food to fuel its growth. During the vegetative stage, cannabis plants need a lot of light, typically around 18-24 hours of light per day. This encourages vigorous growth of stems, leaves, and roots. However, when it switches to the flowering stage, cannabis needs a more controlled light schedule, typically 12 hours of light and 12 hours of darkness.
This shift mimics the natural changes in seasons and triggers the plant to start producing buds. Indoors, using the right grow lights—such as LED or High-Pressure Sodium (HPS) lights—ensures that the plant gets the right spectrum and intensity of light for each stage of its growth. Outdoors, you need to ensure your plants are in a location where they can receive plenty of direct sunlight, ideally 6-8 hours a day, to help them produce those healthy, dense buds.
Temperature and Humidity
Cannabis thrives in specific temperature and humidity ranges, and keeping these factors in check is crucial for its development. The ideal temperature range for cannabis during the vegetative stage is around 70-85°F (21-29°C), with slightly cooler temperatures in the flowering stage—around 65-80°F (18-27°C). If temperatures get too high, plants may experience heat stress, stunting their growth and reducing their ability to produce buds. On the other hand, cold temperatures can slow down the plant’s metabolic processes and impact its overall health.
Humidity is another critical factor. During the vegetative stage, cannabis plants prefer humidity levels of 40-60%, as it helps the plant absorb nutrients and promotes healthy growth. However, when transitioning to the flowering stage, humidity levels should be lowered to 40-50% to prevent mold and mildew from forming on the buds, which can ruin your harvest. If you’re growing indoors, using a dehumidifier or humidifier can help maintain these levels, while outdoor growers should monitor the weather and ensure the plants are adequately protected during periods of excessive moisture.
Soil and Nutrients
Cannabis plants are very nutrient-hungry, particularly during the vegetative and flowering stages, and the soil they grow in plays a huge role in how well they absorb those nutrients. Cannabis plants require three primary nutrients—nitrogen (N), phosphorus (P), and potassium (K), which are often found in fertilizers labeled with an N-P-K ratio. During the vegetative stage, plants need more nitrogen to encourage strong, leafy growth, while in the flowering stage, they require higher levels of phosphorus and potassium to help with bud development and overall health.
The quality of the soil is just as important as the nutrients it provides. Cannabis prefers a well-draining, slightly acidic soil with a pH between 6.0 and 7.0 for soil cultivation. This ensures that the roots can easily access water and nutrients without the risk of waterlogging or root rot. If the soil pH is off, it can prevent the plant from absorbing essential nutrients, leading to stunted growth or nutrient deficiencies. Many growers choose to use a balanced, organic soil mix, while others opt for hydroponics, where nutrients are delivered directly to the roots in a water-based solution.
Watering
Watering is one of the most crucial aspects of cannabis care. Overwatering is a common mistake that can drown the plant’s roots and cause root rot, while underwatering can lead to dehydration and nutrient deficiencies. The key is to maintain a consistent watering schedule, allowing the soil to dry out slightly between waterings. In the vegetative stage, cannabis plants need more water due to their rapid growth, while in the flowering stage, their water requirements may slightly decrease. Using a well-draining soil mixture helps prevent water from pooling around the roots, which can cause issues like mold and root rot.
In addition to the right amount of water, cannabis plants are sensitive to the water’s quality. It’s best to use filtered or distilled water, as tap water often contains chlorine, fluoride, or other chemicals that can harm your plants over time. The water’s pH level should also be monitored to ensure it stays within the optimal range for cannabis, which is typically between 6.0 and 7.0 for soil or 5.5 and 6.5 for hydroponic systems.
Airflow and Ventilation
Cannabis plants need fresh air to thrive, and proper airflow and ventilation are vital for their overall health. When grown indoors, this can be achieved by using exhaust fans, intake fans, and oscillating fans to circulate air and remove excess heat and humidity. Good ventilation helps prevent mold and mildew from forming, which is a common issue, especially in the flowering stage when the buds are dense and sticky. A well-ventilated environment also ensures that the plant gets enough carbon dioxide (CO2), which it uses for photosynthesis. Cannabis grows best with a CO2 level of around 400-1,000 ppm (parts per million).
Outdoor cannabis plants also benefit from natural wind, which strengthens the stems and helps prevent diseases by drying out excess moisture. However, in areas where high winds or storms are common, providing some protection with a windbreak or using plant supports can prevent physical damage to the plants.
Step 4: Germinate Your Seeds
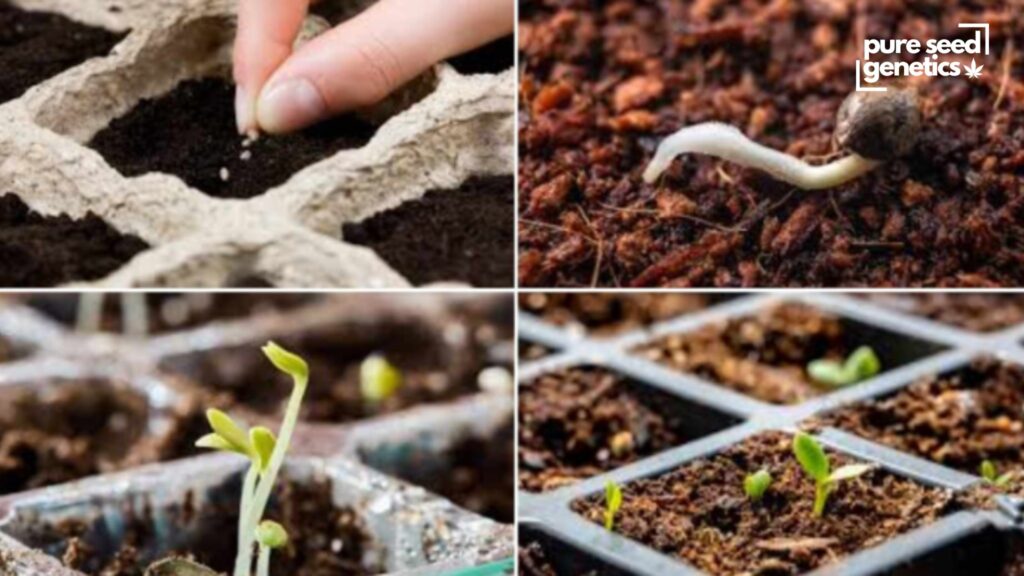
The growing process, and it requires a bit of patience and the right technique to ensure successful sprouting. The germination process begins by activating the seed’s natural growth mechanisms, which can be encouraged using two common methods: soaking the seeds in water or using the paper towel method. Soaking the seeds in water for around 24 hours helps to break down the hard outer shell, or seed coat, and jumpstarts the process of water absorption. This makes it easier for the seed to sprout, as the water softens the seed coat and activates the enzymes needed for growth. While soaking can be effective for many types of seeds, it’s important not to leave them submerged for too long, as prolonged soaking could lead to rotting.
Alternatively, the “paper towel method” is a popular technique that involves placing the seeds between two damp paper towels. You then place the towels in a warm, dark location, ensuring that they stay moist but not too wet. This method provides a controlled environment for the seeds to sprout, and the warmth and moisture will encourage the seeds to germinate. It is important to check regularly, as the seeds will begin to sprout within a few days. The first sign of successful germination is the emergence of a small taproot, which is the first root that grows downward as the seed begins to establish itself. Once this taproot appears, it indicates that the seed is ready to be planted.
Once the seed shows a taproot, handle it carefully to avoid damage. You can plant it in a small pot with well-draining soil or directly in the garden if conditions are suitable. For a pot, ensure it has good drainage and plant the seed with the taproot facing down, covering it lightly with soil. In the garden, dig a small hole, place the seed with the taproot downward, and cover it gently. After planting, water lightly but avoid overwatering. The seedling will grow roots downward and develop its stem and leaves. Proper care with moisture, warmth, and gentle planting will help the seedling thrive.
Step 5: Monitor and Maintain Plant Health
Monitoring and maintaining plant health in cannabis cultivation requires a systematic approach to ensure your plants are thriving throughout their growth cycle. Here are specific steps to help you monitor and maintain the health of your cannabis plants:
Inspect Regularly
- Daily Observation: Check your plants daily for any signs of stress, pests, or diseases. Look for unusual changes in leaf color, shape, and texture.
- Examine Leaves and Stems: Check for yellowing, curling, or spots on leaves (which could indicate nutrient deficiencies or pests). Stems should be strong and upright, with no soft spots or discoloration.
- Check the Undersides of Leaves: Pests like spider mites and aphids often hide on the undersides of leaves. Look for webs, tiny insects, or signs of feeding damage like speckling or distorted leaves.
Check Temperature and Humidity
- Monitor Temperature: Keep the growing environment between 65-80°F (18-27°C) during the day and 5-10°F cooler at night. Use a thermometer to ensure the room stays within this range.
- Measure Humidity: Use a hygrometer to monitor humidity. During the vegetative stage, maintain 40-60% humidity, and in the flowering stage, drop it to 40-50% to prevent mold and mildew.
- Adjust Environment as Needed: Use a dehumidifier to reduce humidity if it’s too high, or a humidifier if it’s too low. Consider using fans for airflow and controlling the temperature, especially in an indoor grow setup.
Watering Practices
- Check Soil Moisture: Before watering, stick your finger about an inch into the soil. If it feels dry, it’s time to water. If it’s still moist, wait another day or two.
- Avoid Overwatering: Overwatering can lead to root rot and fungal infections. Ensure the soil drains well to prevent standing water around the roots. Avoid letting your plants sit in water trays.
- Proper Drainage: Ensure pots have drainage holes to prevent excess water from sitting in the container. Water thoroughly until runoff comes from the bottom of the pot, but avoid waterlogging.
Check for Nutrient Deficiencies
- Inspect for Yellowing or Browning: A nitrogen deficiency can cause older leaves to turn yellow, while a phosphorus deficiency might turn leaves purple. Brown tips may indicate nutrient burn from overfeeding.
- Adjust Nutrient Schedule: Ensure you’re using the correct nutrients for each growth stage. During the vegetative stage, cannabis requires more nitrogen, while in the flowering stage, it needs more phosphorus and potassium.
- Use Balanced Fertilizers: Use fertilizers with the right NPK ratio for each stage (e.g., 3-1-2 during veg, 1-3-2 during flower). Avoid over-fertilizing, as this can burn the plants and cause nutrient imbalances.
Inspect for Pests and Diseases
- Pest Checks: Look for pests like spider mites, aphids, or whiteflies. You can spot them by their damage (discolored, deformed leaves or webbing) or by inspecting the plant directly.
- Use Organic Pesticides: If pests are present, treat the plant with organic insecticides like neem oil, or introduce natural predators like ladybugs or predatory mites.
- Watch for Diseases: Common diseases like powdery mildew, bud rot, or root rot can affect cannabis. Look for white, powdery spots (powdery mildew), or a musty smell around the plant (indicating mold or rot).
- Treat Infections: If mildew or rot is found, remove infected parts immediately and apply a fungicide or anti-microbial treatment. Ensure plants are spaced for good airflow to reduce the likelihood of mold growth.
Maintain Proper Airflow
- Use Fans: In indoor grows, use oscillating fans to promote air circulation. Good airflow helps strengthen the plant’s stems and prevents mold by drying out excess moisture.
- Ensure Ventilation: In an indoor grow room, use exhaust fans to maintain fresh air flow. This helps prevent heat buildup and ensures that the plants receive enough CO2 for photosynthesis.
- Prevent Stagnant Air: Ensure that air isn’t stagnant, especially in a small or closed space, to avoid humidity build-up and mold issues.
Check for Signs of Environmental Stress
- Signs of Heat Stress: If the leaves are curling up or showing signs of burning around the edges (especially near light sources), it could be a sign of heat stress. Adjust the light distance or lower the temperature.
- Cold Stress Symptoms: If the plant has slowed growth or exhibits purple stems or leaves, the temperature may be too low. Make sure the grow space stays within the ideal range for cannabis.
- Light Stress: Cannabis needs the correct intensity of light for photosynthesis. Too much light can cause leaf bleaching or leaf curl, while too little light will result in poor growth and elongation (stretching) of stems.
Prune and Train Plants
- Prune Dead or Damaged Leaves: Regularly remove any yellowing, dead, or damaged leaves to allow the plant to focus energy on healthy growth. Pruning also improves airflow and light penetration.
- Use Training Techniques: Employ low-stress training (LST), topping, or super cropping to encourage bushier growth and more bud sites. This increases light exposure for all branches, leading to better yields.
- Support Heavy Buds: As plants enter the flowering stage and develop heavy buds, use plant supports like stakes or trellises to prevent branches from breaking under the weight.
Monitor pH Levels
- Check pH of Water and Soil: Cannabis grows best in slightly acidic conditions. Check the pH of your water and soil regularly, aiming for a pH between 6.0-7.0 for soil or 5.5-6.5 for hydroponics.
- Correct pH Imbalances: If your pH is too high or too low, it can lock out nutrients, leading to deficiencies. Use pH adjusters (like pH down or pH up) to correct any imbalances before watering your plants.
Maintain a Clean Grow Area
- Clean Equipment: Regularly clean all grow equipment, including pots, trays, and tools, to prevent the buildup of pathogens, mold, or pests.
- Control for Contamination: Sterilize the growing area if you notice any mold, mildew, or pest infestations. This helps prevent the spread of diseases and pests to healthy plants.
By following these specific steps, you can monitor and maintain plant health effectively, ensuring your cannabis plants thrive, avoid common problems, and produce a healthy, potent harvest. Regular checks for environmental conditions, pest infestations, nutrient deficiencies, and plant stress will allow you to address issues early on, keeping your plants in optimal condition throughout their lifecycle.
Step 6: The Blooming Period Of Healthy Cannabis
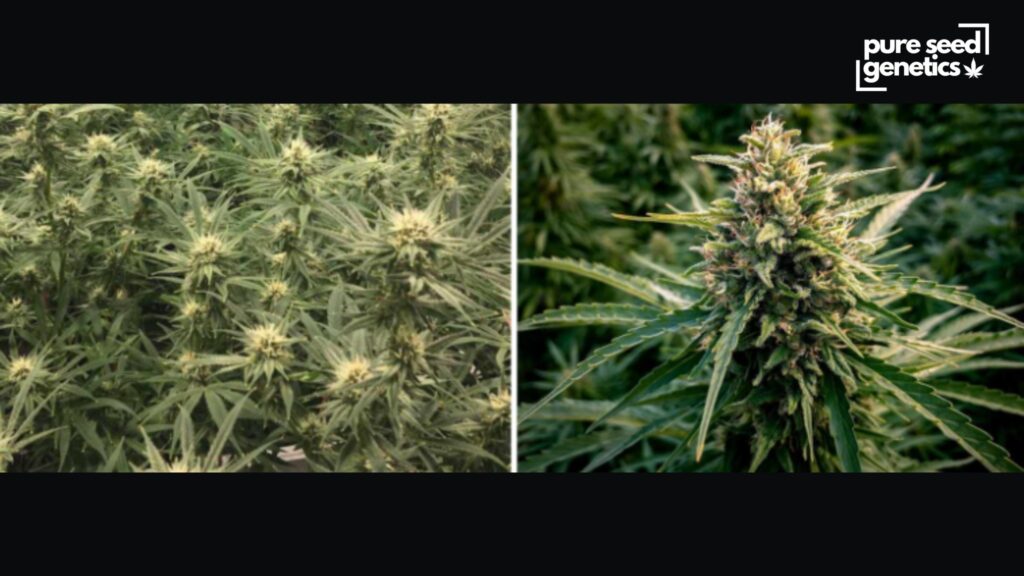
The blooming period, or flowering stage, is when the cannabis plant focuses on producing buds. This stage starts after the plant has matured and is exposed to 12 hours of light and 12 hours of darkness (indoors) or as daylight decreases (outdoors). During this time, the plant grows buds full of cannabinoids and terpenes. The flowering stage lasts 8 to 12 weeks and has two phases: early flowering (where buds begin to form) and late flowering (when buds get larger and more resinous).
In early flowering, small white pistils appear, and the plant needs phosphorus and potassium to help the buds develop. In late flowering, the buds become larger and sticky with resin. It’s important to monitor the temperature, humidity, and nutrients carefully to prevent mold, pests, or nutrient imbalances. Once the trichomes turn milky or amber, it’s time to harvest. Proper care during the blooming period ensures healthy buds and a better yield.
Cannabis plants generally fall into two categories based on their flowering behavior: Photoperiod (APD) and autoflowering.
- Photoperiod (APD) plants depend on light levels to trigger flowering. They have a hormone that prevents flowering when it’s active, keeping the plant in a vegetative state. As the days get shorter and nights get longer, this hormone becomes less active, and the plant starts to flower when exposed to 12 or more hours of darkness each night. Essentially, these plants require a change in the light cycle to begin blooming.
- On the other hand, autoflowering strains flower based on their age rather than light cycles. They stop producing the flowering-inhibiting hormone as they mature, triggering the flowering process regardless of the light schedule. These plants can begin flowering as early as two weeks after germination, making them faster to grow compared to photoperiod plants. The age-dependent mechanism in autoflowering strains allows them to flower even under consistent light conditions.The blooming (flowering) stage of cannabis has several key phases:
The Different Stages Of Blooming
At the start of the flowering phase, you’ll notice a big change in how the plant grows. Instead of growing taller and stretching out like in the vegetative stage, the plant’s branches start to grow in a more zig-zag pattern, with shorter spaces between each set of leaves or branches (called nodes). The plant also begins to focus on developing flowers, and you can clearly see the difference from the earlier, more symmetrical growth. This change is a sign that the plant is shifting from growing leaves and stems to focusing on producing buds, which is the main goal of the flowering phase.
During the blooming or flowering stage, cannabis plants go through similar stages, though the timing can vary between strains. Fast-growing indica strains may be ready for harvest in just a few weeks, while slower-growing sativa strains take much longer to mature.
After the plant begins to show signs of differentiation (the change from vegetative to flowering growth), the actual flowers start to form. The calyxes, which are the small leaf-like structures that surround the buds, begin to appear at the points where the branches meet the stem. These quickly form into small, puffball-shaped clusters covered with pistils (the white hairs). At this stage, tiny trichomes, which produce the plant’s desirable resin, begin to develop on the pistils, calyxes, and even on the leaves.
As the calyxes continue to grow, they start to stretch along a small stalk, making space for more clusters of pistils and new leaves that are specific to the bud. These bud-specific leaves are different from the sugar leaves (the smaller leaves near the buds); they are thicker, smaller, often more curled, and covered in trichomes. Over time, these leaves get partially covered by the swelling buds.
As the flowering period continues, the clusters of flowers (buds) grow larger and denser, eventually forming big, resin-coated colas (clusters of buds) filled with trichomes. The longer the plant is left to mature, the more resin the calyxes and trichomes will produce, giving the buds their potency and aroma. Eventually, the plant reaches full maturity, signaling that it’s time to harvest for the best potency and flavor.
Step 7: Harvesting, Drying & Curing for the Best Quality Buds
In the last few weeks before harvest, stop giving your plants any nutrients and only water them with clean, pH-balanced water. This process, called “flushing,” helps remove any leftover nutrients and salts that could affect the taste. By flushing the plants, you ensure the buds have a cleaner, smoother flavor without any chemical or salty aftertaste. Flushing also helps the plant focus on its final growth and resin production, resulting in higher quality buds.
To get the best quality buds, start by harvesting when the trichomes (tiny crystals on the buds) are mostly milky or amber. This shows the plant is at its peak for potency. After cutting the buds, trim off excess leaves.
Next, dry the buds by hanging them in a cool, dark place with good air circulation for 7-10 days. Make sure the room is not too hot or humid, as this can affect the buds’ quality. When the buds feel dry and the smaller stems snap, they’re ready for curing.
Finally, place the dried buds in glass jars to cure them. Open the jars once a day for 10-15 minutes to let out moisture and let fresh air in. This process should last for 2-4 weeks. Curing enhances the flavor, smoothness, and potency of the buds, giving you a better smoking experience.
Growing weed can be a rewarding and satisfying experience when you follow the right steps. By starting with quality seeds, providing the right environment for growth, and giving your plants the care they need throughout each stage, you can grow healthy, potent cannabis. From germinating seeds, managing the vegetative and blooming phases, to harvesting, drying, and curing properly, each step is essential for achieving top-quality buds. With patience and attention to detail, you’ll be able to enjoy the fruits of your labor and have a successful harvest. Just remember, consistency and care are key to growing the best weed. Happy growing!

Pure Seed Genetics
Cannabis seeds for sale with free shipping across the USA, Europe, and Canada. Our weed seeds are bred to meet customer and breeders standards of growing of all levels and tastes.
Copyright 2026 © Pure Seed Genetics
